With so many options available, eyeshadow can be overwhelming. As well as picking colours, you’ve got to think about the formulation and the finish. Do you want powder or cream? Matte, satin or shimmer? Then, once you’ve made up your mind, you need the right tools to apply it all.
I’m all about effortless makeup. I believe the best eyeshadow look for you is one you’re comfortable creating and wearing. It’s not over complicated and it’s not stressful to apply. Here’s my beginner’s guide to eyeshadow…
The post includes affiliate links which means I’ll earn a small amount if you use them to make a purchase. This does not affect the price you pay. Many of the products listed are available from Look Fantastic. Use the code LFTFLAURENELLE to receive a discount on your purchase. When you do, I’ll earn a small commission. Thank you for supporting my small business.
How Do I Choose an Eyeshadow Look?
My Bespoke Makeup Lessons are incredible for helping you work out what suits you and the type of look you enjoy wearing. You’ll receive personalised advice and learn how to work with your eye shape and features.
Otherwise, there are lots of amazing tutorials on YouTube and Instagram which are full of inspiration. However, they may not be specific to your eye shape or colour, so don’t be disheartened if you can’t perfectly recreate a look you’ve seen online. You can also ask to try things out at your local makeup counter.
Eyeshadow Dos and Don’ts
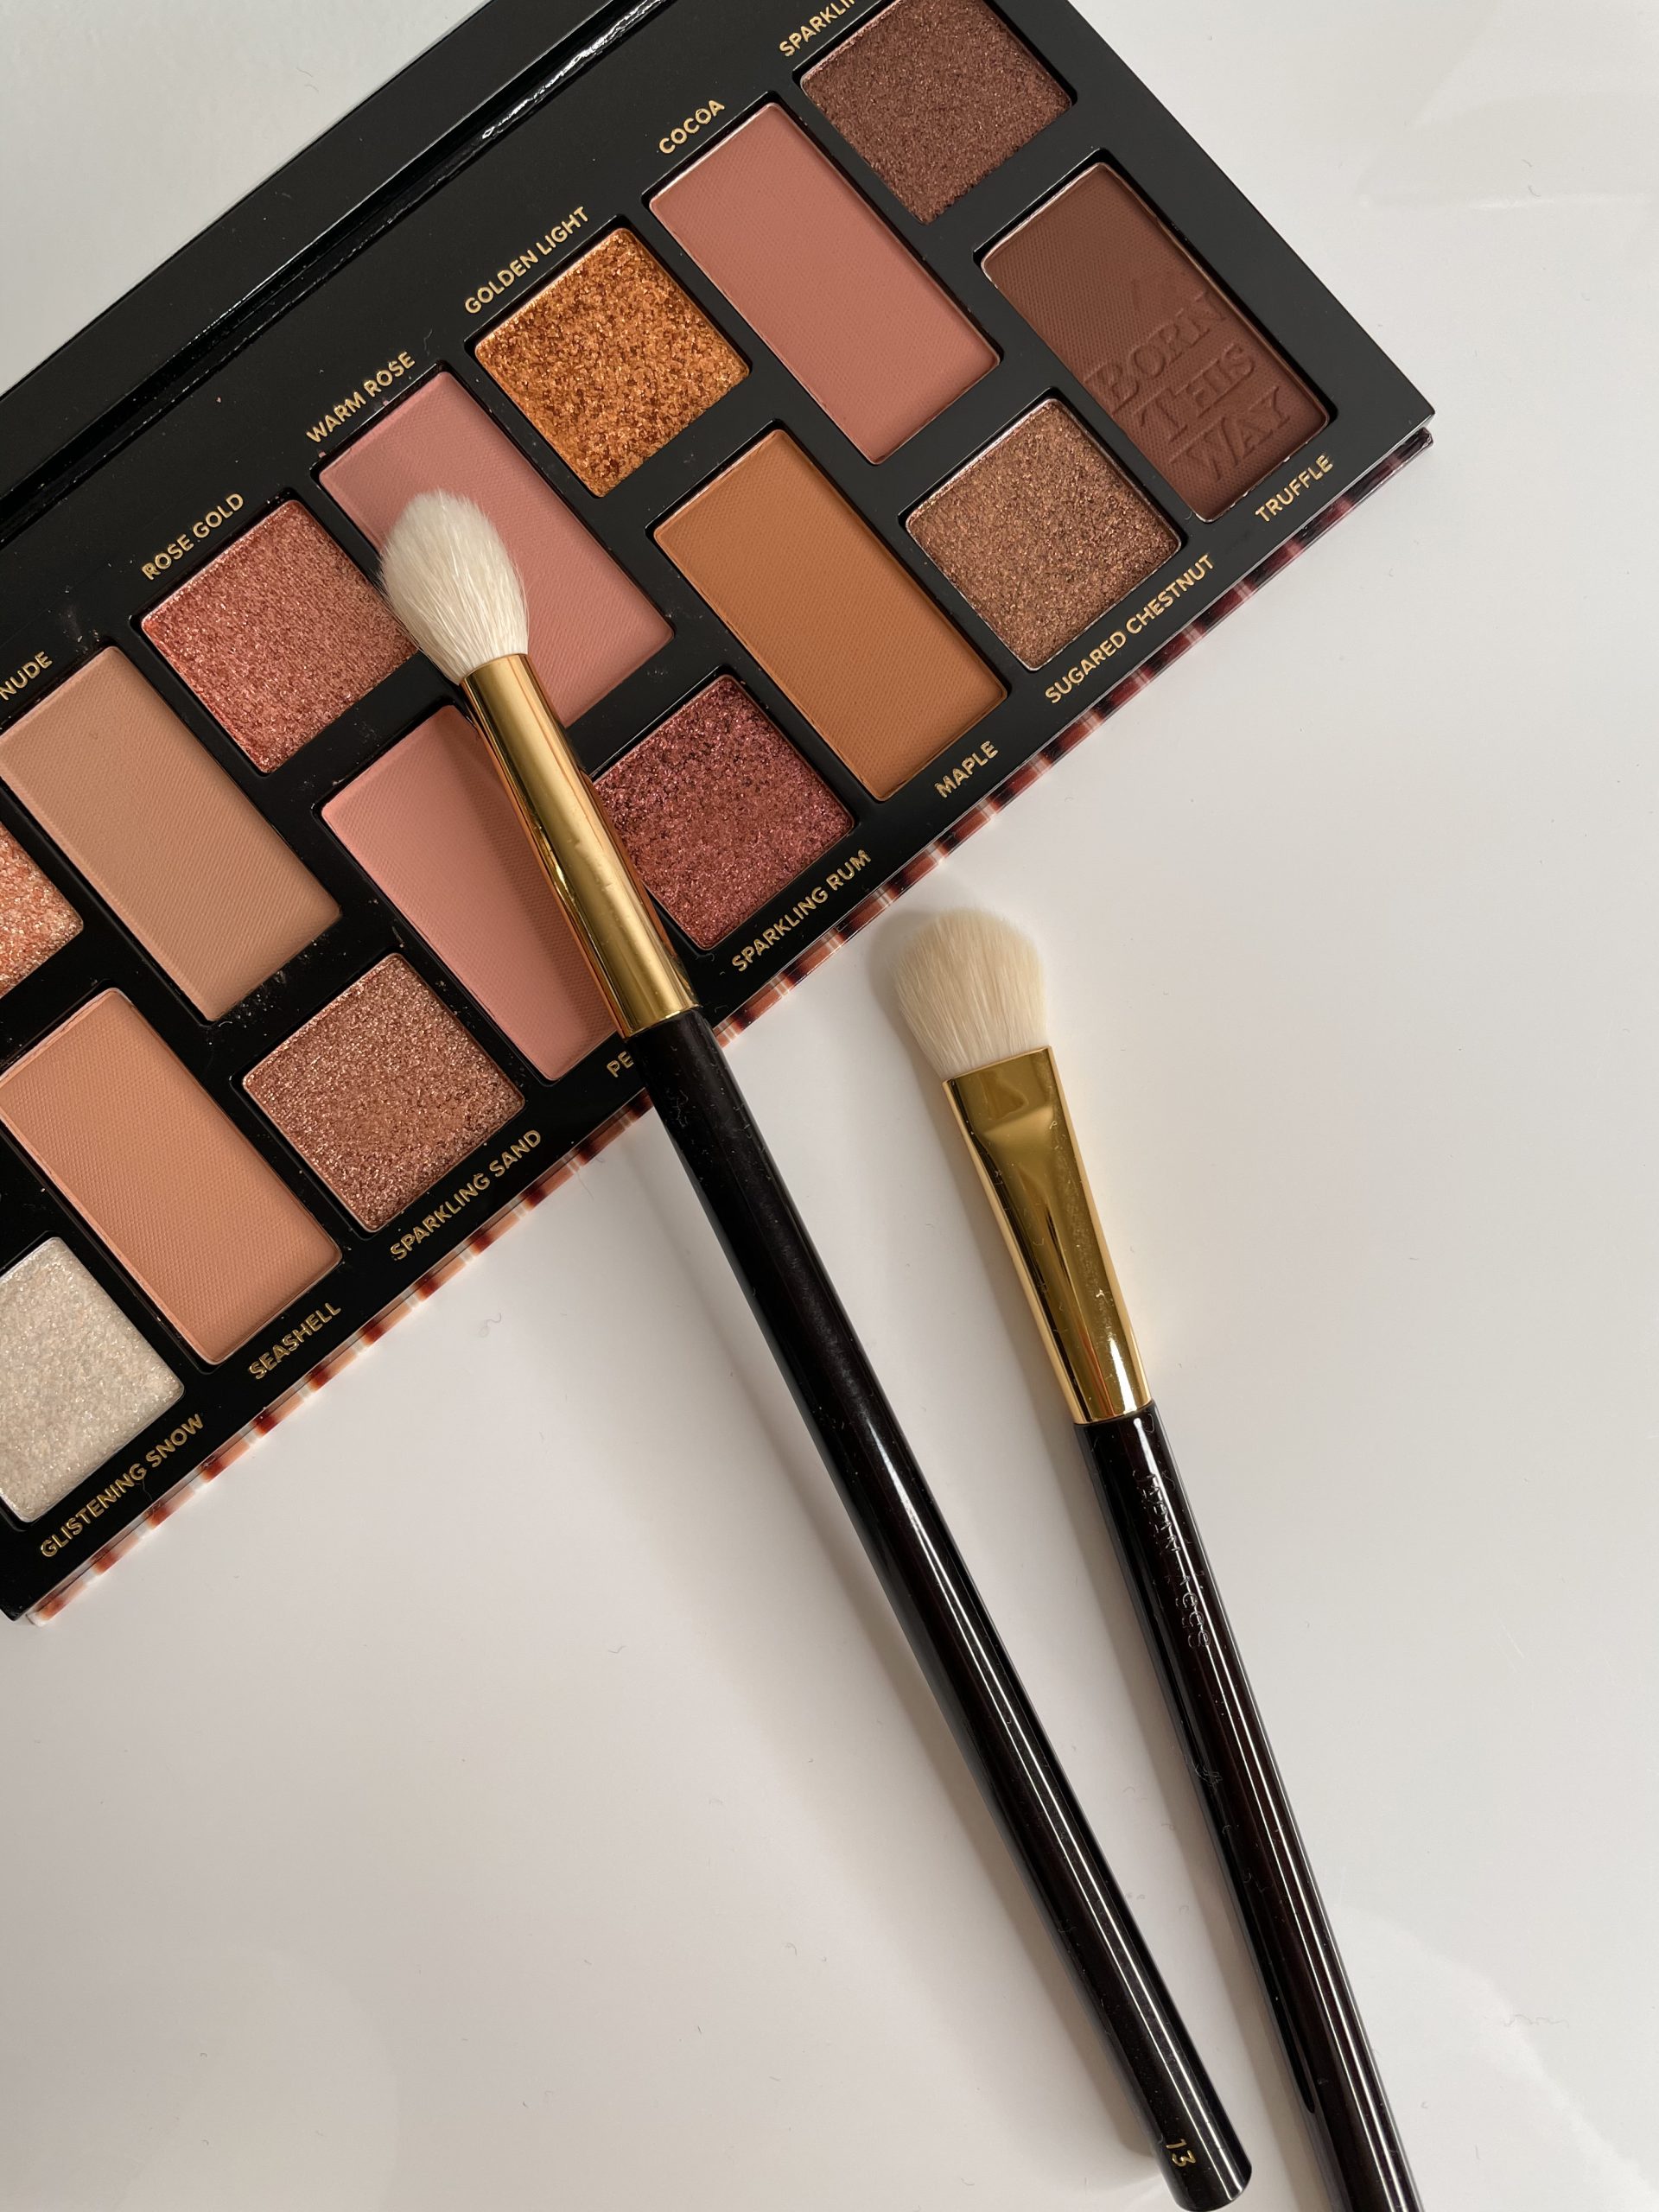
Brushes make all the difference. If you’re using the foam applicators that usually come with eyeshadow palettes, please stop! You can use your fingers to apply things like cream eyeshadow, but for blending or creating a smoky eye, brushes will be your best friend. They don’t need to be expensive to be good quality. Read 9 Basic Brushes for Your Makeup Kit to learn more.
Using an eyeshadow primer is my biggest tip! If you’re not currently applying one, it will transform your eyeshadow look.
Apply your eyeshadow before your base, especially if you’re using powder eyeshadow, trying a new look, or creating a smoky eye. This way, any eyeshadow that falls onto your cheeks can be wiped away without ruining your foundation.
When you’re applying eye makeup (especially when it’s more than your usual everyday look) do each step on BOTH eyes as you go along. So primer on both eyes, first eyeshadow colour on both eyes etc. This will ensure you create an even look and, if you run out of time, at least you won’t have one eye complete and one eye naked!
If you do run out of time, give everything an extra bit of blending with a fluffy eyeshadow brush and add a couple of coats of mascara. This will help add definition to your lashes and keep the eye look balanced rather than it being obvious you’ve run out of time and stopped halfway through!
You’ll more than likely be looking in a mirror up close to apply your eyeshadow. I aways recommend stepping back and looking at what you’re creating from further away. Do this midway through and at the end. Things can look completely different, and you’ll often prefer your application once you look at it from a different angle.
Eyeshadow Application Tips
Start with a lighter eyeshadow colour and then add the darker tone. This will give you more control over the final look. I recommend applying the lighter shade all over the lid with a flat short haired synthetic eyeshadow brush. To apply the darker shade into the outer corner of the eye and into the crease, use a fluffy tapered eyeshadow brush.
Apply a small amount of product, blend and repeat. Blending is key! During makeup lessons, I often find clients are worried about blending too much and ruining what they’ve done, but this is impossible if you’re using a fluffy eyeshadow brush with a light pressure. If you find you’ve used too much pressure, and the eyeshadow starts to look patchy, simply add a little bit of the lighter colour and gently blend to conceal any gaps.
Using a powder or cream eyeshadow stick to define your lash line instead of an eyeliner is a lovely way of creating soft definition. I recommend applying the eyeshadow and buffing it in with a pencil brush.
Adding an inner corner highlight is one of my favourite ways to make an eye look feel more elevated. You can add a little shimmer for a subtle look or go full on glitter for a fun festival feel! Again, a pencil brush is ideal for this as it’s small and delicate, but any small eyeshadow brush will do the trick. Adding a lighter eyeshadow to the inner corner near your tear duct will open up the eyes and have a brightening effect.
Lauren Loves
The original Urban Decay Eyeshadow Primer Potion consistently receives rave reviews. It’s easy to apply and it helps eyeshadow last longer and look more vibrant.
Bobbi Brown Long-Wear Cream Shadow Sticks are amazing for creating a quick and easy eye look. You just swipe them over the eye and blend them out with a fluffy brush or even your finger. Their rounded/dome shaped tip means you can almost use them like a brush, drawing darker shades along your lash line like eyeliner. The lighter more shimmery tones are perfect to apply as an inner corner highlight.
Cream eyeshadows are ideal for wearing alone, as a base for other eyeshadows to stick to, or for adding depth and colour as you create a smoky eye. MAC Paint Pot in the shade ‘Painterly’ is one of my most used products in my makeup kit. It’s a light beige tone with a subtle pink undertone in a natural matte finish. ‘Soft Ochre’, ‘Groundwork’ and ‘Layin’ Low’ are also very well loved and used in my kit depending on a client’s preference and skin tone.
Find Out More
I fill my Bespoke Makeup Lessons with practical hints, tips and product recommendations just like this. They’re perfect for helping you work out what suits you, what you like and what (if anything) you need to remove or add into your makeup bag. Learn more and book your lesson here. I also share plenty of beauty inspiration and advice on Instagram.


